


Microphones 101: How to Adjust Your Voice for the Mic

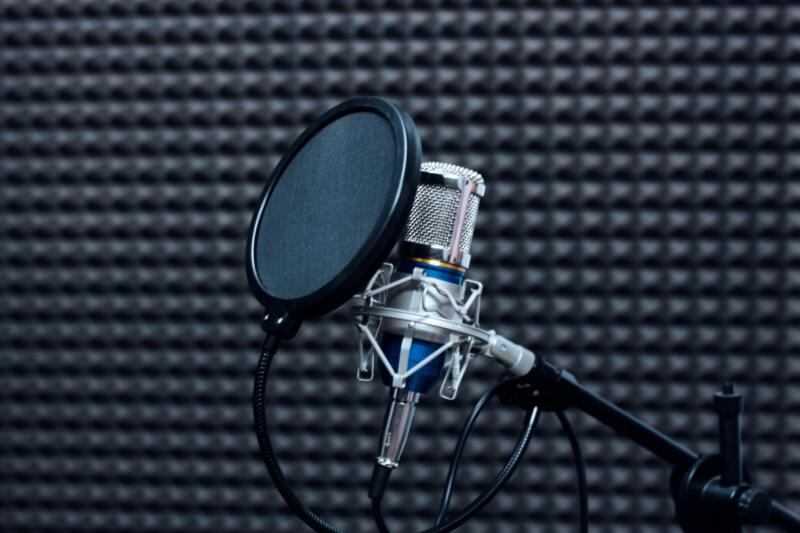
Studio condenser microphone with pop filter on a boom arm in a recording studio.

Microphones 101: How to Adjust Your Voice for the Mic

Master Distance, Angle, and Projection for Professional Sound Quality in Podcasts, Voiceover, and Zoom Calls

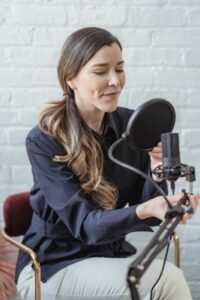
Speaker demonstrating proper distance and angle in front of a desktop microphone.
Image by George Milton via Pexels

Whether you are recording voiceover copy, hosting a podcast, presenting on a live webinar, or leading virtual meetings on Zoom, your microphone is the primary bridge between you and your audience. Even the highest-end recording equipment cannot fix poor vocal technique or improper microphone placement.

Learning how to adjust your speaking voice and physical positioning for a microphone is an essential skill that transforms thin, muffled, or popping audio into a warm, crisp, professional voice.


๐ŸŽ™๏ธ The Question

“How do I adjust my speaking voice and head position for the best possible voice sound on the microphone?”

๐Ÿ’ก The Answer

To adjust your speaking voice and technique for a microphone, you need to manage your physical distance, microphone angle, and vocal projection so your audio stays clear, balanced, and free of distortion.

๐ŸŽ Ready to Master Your Vocal Technique?

Special Offer: Get a Free 30-Minute Voice & Speech Session to optimize your vocal tone and mic presence! Fill out a quick inquiry on our Contact Us page, and we will send a 1-on-1 private lesson invite directly to your inbox.
๐Ÿ“ Distance and Physical Positioning

  • Keep the Right Distance:

    Place the microphone about 3 to 6 inches (roughly 4 to 8 fingers’ width) away from your mouth.
    • Too close: Creates a “boomy” or muddy sound (known as the proximity effect) and picks up heavy breathing or mouth clicks.
    • Too far: Makes your voice sound thin, distant, and hollow with room echo.
  • Speak Slightly Off-Axis:

    Do not talk straight into the center of the capsule. Angle the microphone about 10 to 45 degrees to the side of your mouth. This prevents harsh air blasts on “P” and “B” sounds (plosives) and softens sharp “S” sounds (sibilance).
  • Use a Pop Filter:

    Place a physical pop filter between your lips and the mic to catch residual blasts of air if you tend to project directly forward.

ย 

๐Ÿ”Š Voice Projection and Dynamic Control

  • Project Naturally:

    Speak with steady, conversational breath support. Do not lean in and whisper right on top of the mic unless you are intentionally aiming for a warm, intimate tone.
  • Back Off for Loud Moments:

    If you laugh, get excited, or raise your volume for emphasis, lean back slightly or turn your head a few inches to the side so you do not clip or distort the audio meter (aim to keep peak levels safely around -18 dB to -12 dB).
  • Vary Your Pace and Pitch:

    Keep your speech engaging by varying your vocal pitch and slowing your tempo down slightly compared to everyday conversation so your words do not blur together over digital audio streams.

ย 

๐Ÿ—ฃ๏ธ Elevate Your Studio Voice & Executive Presence

Studio condenser microphone with pop filter on a boom arm in a recording studio.
Image by Asit via Unsplash

Mastering microphone technique requires combining physical awareness with controlled vocal mechanics. Whether you are auditioning for commercial voiceover work, delivering online keynotes, or striving for crystal-clear virtual meetings, small adjustments in posture, placement, and breath control yield instant, professional results.


At My Tutor Lesson, our expert speech and voice coaches provide personalized 1-on-1 instruction in vocal resonance, mic technique, public speaking, and presentation delivery.

Claim a Free 30-Minute Lesson!

Love this article? We want to help you take the next step. Fill out a quick inquiry on our Contact Us page, and we will send a 1-on-1 private lesson invite directly to your inbox. Choose between a Math Masterclass or a Speaking & Voice Coaching Session.


๐Ÿ“‹ How It Works (Step-by-Step)

  1. Click the button below to go to our Contact Us page.
  2. Fill out Step 1 of the form with your name, email address, and phone number.
  3. On Step 2 (the inquiry section), write a quick note mentioning which blog post you read and whether you want a Math or Speaking/Voice
  4. Check your inbox within 24โ€“48 hours for our email to confirm your scheduled time.


ย 

Claim a Free 30-Minute Lesson!

Love this article? We want to help you take the next step. Fill out a quick inquiry on our Contact Us page, and we will send a 1-on-1 private lesson invite directly to your inbox. Choose between a Math Masterclass or a Speaking & Voice Coaching Session.


๐Ÿ“‹ How It Works (Step-by-Step)

  1. Click the button below to go to our Contact Us page.
  2. Fill out Step 1 of the form with your name, email address, and phone number.
  3. On Step 2 (the inquiry section), write a quick note mentioning which blog post you read and whether you want a Math or Speaking/Voice
  4. Check your inbox within 24โ€“48 hours for our email to confirm your scheduled time.

โš ๏ธ Terms & Conditions (The Fine Print)

  • Limit: Strictly one free 30-minute lesson per student/household across the entire mytutorlesson.com site.
  • Eligibility: Valid for new students only. Existing or actively enrolled students are not eligible.
  • Verification: To qualify, the second page of the contact form must include a specific inquiry mentioning this promotional offer and your preferred subject track.
  • Expiration: Lesson booking links must be redeemed and scheduled within 30 days of form submission.
  • Under 18 Policy: For students under the age of 18, a parent or guardian must submit the contact form and attend the initial session.