

Ask MyTutorLesson:
How to Master Your Podcast Speaking Skills and Audio Setup

QUESTION:
“I am launching a new podcast based on a favorite hobby of mine, but I have absolutely no experience with public speaking or working with professional audio equipment. Can you help me learn how to improve my speaking delivery and set up my microphone correctly? Thanks!”ANSWER:
Launching a professional-sounding podcast comes down to two major pillars: sounding natural behind the microphone, and configuring your hardware setup to capture a clean audio signal. When you blend correct vocal pacing with proper mouth-to-microphone distance, you instantly eliminate the amateur mistakes that cause listeners to turn off a show. Here is your step-by-step masterclass on podcast speaking and audio mechanics.Pillar 1: Actionable Speaking Strategies
The biggest trap new podcasters fall into is sounding like a stiff lecturer. To build an audience, you need to sound warm, authentic, and conversational.
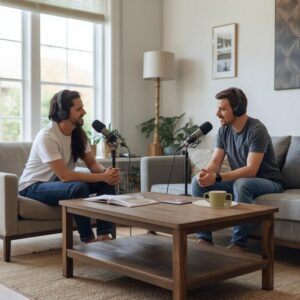
- Speak to One Person: When you record, do not think about a massive, invisible crowd. Imagine you are sitting across a coffee table from one close friend, explaining your hobby to them. This simple mental shift instantly relieves performance pressure and relaxes your vocal delivery.
- Write for the Ear: If you choose to use notes, do not write out a rigid, word-for-word script. Write short, bulleted talking points exactly how you naturally speak. Always read your bullet points aloud before recording to catch awkward tongue-twisters or overly formal phrasing.
- Leverage Strategic Pauses: You do not have to fill every single second of tape with sound. Deliberate, intentional pauses allow your listeners to digest your ideas, naturally eliminate verbal filler words (like “um,” “uh,” or “like”), and give your diaphragm a necessary moment to breathe.
- Slow Down Your Pace: Nervousness causes us to speak rapidly. Force yourself to speak roughly 15% slower than your everyday conversational pace. This intentional slowing instantly makes your delivery sound more authoritative, relaxed, and credible.
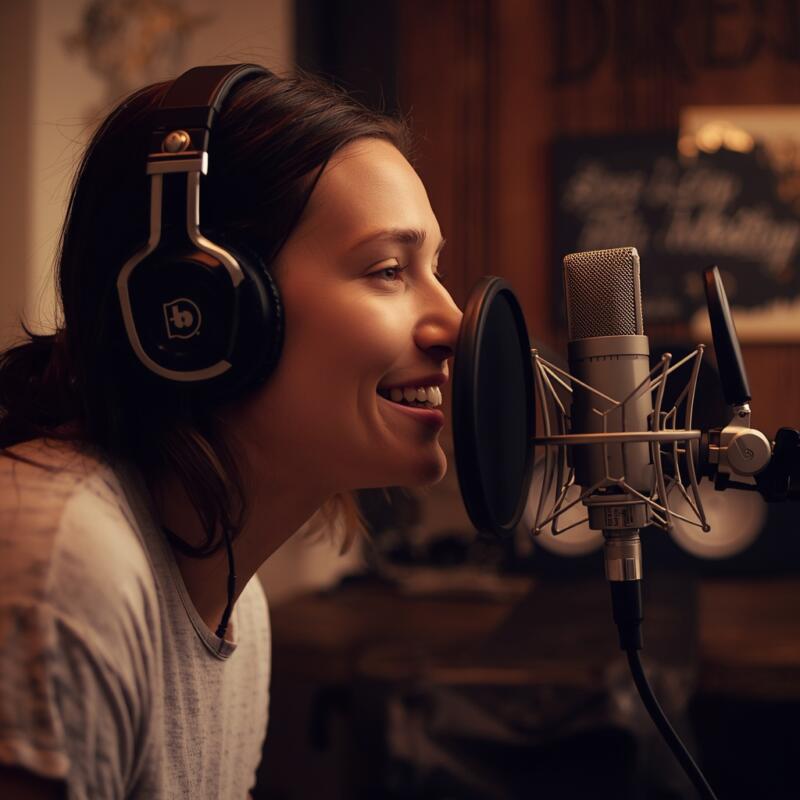
- Smile While You Speak: It sounds counterintuitive for a non-video audio show, but smiling physically alters the shape of your vocal tract and throat cavity. It injects a natural, warm, and engaging energy into your acoustic tone that listeners can instantly feel.
Pillar 2: Professional Microphone Technique
Even the most expensive microphone in the world will sound terrible if your physical positioning is wrong. Good mic technique prevents audio distortions before they ever hit your computer.

- The Fist-Width Rule: Keep your mouth roughly 4 to 6 inches away from the microphone capsule. If you get too close, you will trigger the proximity effect — a physical audio phenomenon that artificially boosts low bass frequencies and causes your voice to sound muddy or distorted.
- Angle for “Off-Axis” Speaking: As shown in the visual diagram above, you should never speak directly down the center barrel (on-axis) of the microphone. Instead, angle the microphone 30 to 45 degrees off-axis toward your mouth. This ensures that heavy gusts of breath blow right past the capsule instead of smashing directly into it.
- Control Your Plosives: Hard consonants like “P” and “B” cause sudden blasts of air called plosives. Always use a mesh pop filter or foam windscreen. If you still hear harsh pops in your headphones, slightly raise or lower your mic stand so you are speaking slightly over or under the capsule.
- Maintain Posture for Breath Support: Sit up completely straight with your chest open and shoulders rolled back. Slouching compresses your lungs and forces you to speak from your throat, thinning out your vocal tone during long recording sessions.
Pillar 3: Studio Setup and Hardware Guide
You do not need a multi-million dollar recording studio to achieve a clean mix. You just need to select the right toolchain for an un-treated home environment.
- Choose a Dynamic Microphone
If you are recording in a standard bedroom, living room, or home office, avoid “condenser” microphones. Condenser mics are incredibly sensitive and will pick up your air conditioner, traffic outside, and room echo. Instead, choose a dynamic microphone. Dynamic mics are less sensitive and naturally reject background room noise.
- Invest in an Audio Interface
While direct USB microphones are convenient, connecting a traditional XLR microphone to a dedicated USB audio interface provides far superior results. Interfaces give you cleaner preamps (preventing background hissing), precise physical gain control knobs, and higher-quality digital audio translation.
- Treat Your Physical Environment
You do not need expensive acoustic foam to kill echo. Soft, porous materials absorb stray sound waves beautifully. Hang thick blankets, use heavy curtains over windows, place a plush rug on bare hardwood floors, or record in a room surrounded by soft furniture or a full clothing closet.
Conclusion: Practice Makes Perfect
Behind every great podcast host is hours of raw, unedited audio mistakes. Don’t expect your first episode to sound like a professional radio broadcast. Focus on your posture, back off the mic capsule, talk to a single friend, and let your natural passion for your hobby take care of the rest.
Ready to Launch Your Podcast or Public Speaking Journey?
Are you ready to stop letting vocal anxiety hold you back from launching your dream show? Whether you need help setting up your home recording equipment, mastering your breathing, or engineering a commanding, professional speaking voice, we have you covered.
At MyTutorLesson, we provide one-on-one Podcast Launch & Public Speaking Coaching. We sit down with you to audit your audio chain, build customized vocal delivery drills, and give you the absolute confidence you need to hit record. [Schedule your introductory media and speech consultation with MyTutorLesson today!]

Have a confusing tech question or a public speaking roadblock you want answered by an expert? Drop our production team a line anytime at info@mytutorlesson.com!